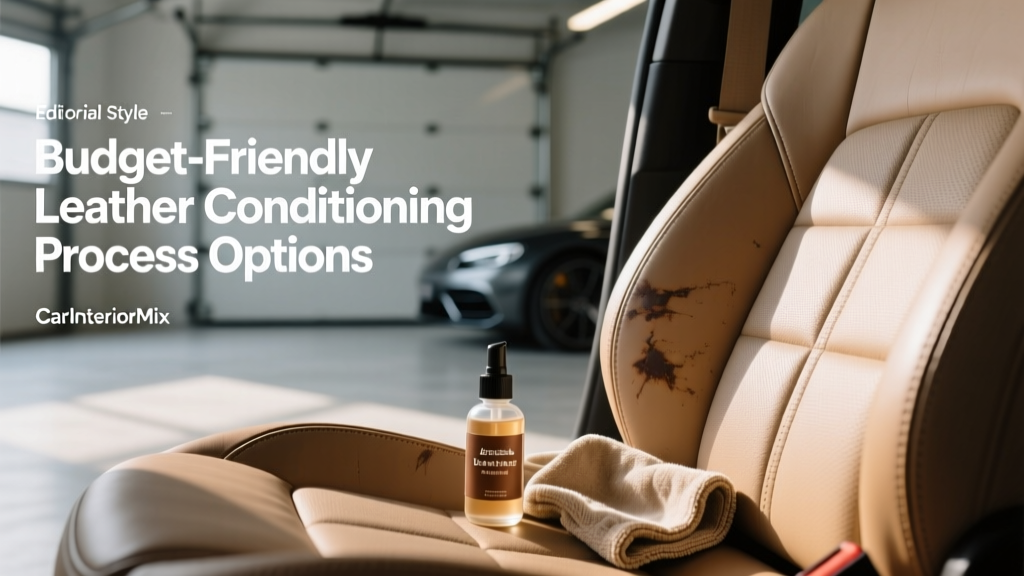
Leather Conditioning for Cars: Budget Options (2026)
Leather seats and trim can make even an older daily driver feel upscale?but leather is also one of the easiest interior materials to accidentally neglect. Sun, body oils, temperature swings, and simple abrasion slowly pull moisture and flexibility out of the hide. The result is the familiar progression: dullness, stiffness, creasing, then cracking and color wear. The good news is that you don?t need premium boutique products or a detail shop appointment to keep leather looking healthy.
A budget-friendly leather conditioning routine is mostly about using the right process, not chasing the most expensive bottle. With a few affordable tools, basic product knowledge, and consistent timing, you can keep your seats soft, clean, and protected for years?often for less than the cost of a single professional detail.
This guide breaks down practical, low-cost leather conditioning options, step-by-step methods, product comparisons, and common mistakes to avoid. Whether you?re caring for coated (modern) automotive leather or older, more porous hides, you?ll find a workflow that fits your time and budget.
Why Leather Conditioning Matters (and What It Actually Does)
Conditioning is often misunderstood. Most modern automotive leather is ?pigmented? or ?coated? leather?meaning it has a protective topcoat applied at the factory. That coating changes how products behave. A conditioner typically doesn?t ?soak deeply? into coated leather the way it might on an uncoated leather jacket; instead, it:
- Restores a smoother, less dry surface feel
- Helps reduce friction (less wear on bolsters and high-contact areas)
- Adds mild UV protection (depending on the product)
- Makes ongoing cleaning easier by reducing grime bonding
Think of conditioning as preventative maintenance. It won?t reverse cracking or heavy dye wear, but it can slow the timeline dramatically and keep the leather looking richer between cleanings.
Know Your Leather: Coated vs. Uncoated vs. ?Leatherette?
Before buying anything, identify what you?re working with. Your process and product choice should match the material.
Most common: Coated (pigmented) automotive leather
- Typical in most cars from the mid-2000s onward
- Has a protective clear topcoat
- Responds best to gentle cleaning + light conditioning + UV protection
Less common: Semi-aniline/aniline (more porous)
- Found in some luxury models, older vehicles, and specialty trims
- More absorbent and stain-prone
- Needs extra care: minimal water, quicker wipe-off, and more frequent gentle conditioning
Not leather: Leatherette / ?vegan leather? / vinyl
- Common on seat side panels, door inserts, and many ?leather? packages
- Conditioners designed for leather may leave residue or gloss
- Best with a dedicated vinyl/interior protectant, not heavy oils
Quick test (non-invasive): Put a tiny drop of water on an inconspicuous spot. If it beads and sits, it?s likely coated leather or vinyl. If it darkens quickly and absorbs, it?s more porous leather?use gentler products and shorter dwell times.
Budget Starter Kit: What You Actually Need
You can build a solid leather care kit without overspending. These are the basics that deliver the biggest improvement per dollar:
- Vacuum with a soft brush attachment (or a handheld vacuum)
- 2?6 microfiber towels (cleaning, buffing, and final wipe)
- Soft interior brush (horsehair or soft nylon)
- Leather cleaner (or an interior-safe cleaner that?s leather-compatible)
- Leather conditioner/protectant (matte or low-sheen preferred for OEM look)
Money-saving tip: Buy microfiber towels in a multipack and dedicate a few to interiors only. Fabric softener ruins microfiber absorbency?wash separately with a free-and-clear detergent.
Budget-Friendly Leather Conditioning Process Options
Below are realistic, low-cost approaches depending on how much time you have and how dirty or dry the leather is. Pick one that matches your situation.
Option 1: The ?Maintenance Wipe? (10?15 minutes)
Best for: Weekly/biweekly upkeep, newer leather, garage-kept vehicles.
- Vacuum quickly to remove grit from seams and perforations.
- Lightly mist conditioner/protectant onto a microfiber towel (not directly onto the seat, especially with perforations).
- Wipe evenly over contact areas: seat bottom, backrest center, bolsters, headrest.
- Buff dry with a second towel to prevent a slick feel.
Real-world example: If you commute daily and wear denim, a quick maintenance wipe every 2?3 weeks helps reduce dye transfer buildup on light seats and keeps bolsters from getting that ?grabby? dry feel.
Option 2: The ?Clean + Condition? Standard (30?45 minutes)
Best for: Most vehicles, every 2?3 months, especially if parked outside.
- Vacuum thoroughly (don?t skip seams and stitching?grit acts like sandpaper).
- Apply leather cleaner to a brush or towel. Agitate gently in small sections (about 1?2 sq ft).
- Wipe away residue with a clean, slightly damp microfiber towel if needed.
- Let the surface dry 5?10 minutes (fans help; avoid heat guns).
- Apply conditioner/protectant sparingly. More product doesn?t mean more benefit?excess becomes residue.
- Allow a short dwell time (follow the label; typically 5?15 minutes).
- Buff to an OEM finish using a dry microfiber towel.
Practical tip: Work from the top down (headrests to seat bases) so you don?t lean on freshly conditioned panels.
Option 3: The ?Deep Refresh? on a Tight Budget (60?90 minutes)
Best for: Used-car purchases, neglected interiors, shiny/grimy leather.
- Vacuum and blow out creases and perforations. If you have compressed air, use it carefully at a distance.
- Pre-clean high-oil areas (headrest, armrest, steering wheel) with a dedicated leather cleaner or interior cleaner that?s leather-safe.
- Two-pass cleaning:
- Pass 1: Brush agitation to lift grime.
- Pass 2: Towel wipe + light re-cleaning to remove remaining residue.
- De-gloss carefully if the seat looks shiny from oils (not from a factory sheen). Focus on gentle cleaning rather than harsh chemicals.
- Condition lightly and buff completely dry?this is where many people over-apply.
Reality check: If the leather is already cracked or the color coat is worn through on the bolster, conditioner won?t ?fix? it. At that point, look into a leather repair kit or professional recoloring. Conditioning still helps the surrounding areas and prevents the damage from spreading.
Affordable Product Recommendations (and What to Look For)
Specific availability varies by region, but these product types tend to perform well for the price. Aim for water-based, interior-friendly formulas with a natural matte finish.
Best value: Cleaner + conditioner bundle
- Why it?s budget-friendly: Buying a matched pair often costs less than two separate premium bottles.
- Who it?s for: Most drivers with coated leather.
All-in-one leather cleaner/conditioner (use with realistic expectations)
- Pros: Fast, convenient, usually inexpensive.
- Cons: Often weaker at deep cleaning; can leave residue if overused.
- Best for: Maintenance between deeper clean + condition sessions.
Matte interior protectant (for leatherette/vinyl and as a top layer)
- Pros: Great for dashboards, door cards, and synthetic ?leather? sections.
- Cons: Not a true leather conditioner for porous hides.
What to avoid when shopping on a budget
- Oily, heavy dressings that leave seats slick or glossy
- Strong solvents or harsh degreasers that can dry or discolor leather
- Household cleaners (dish soap, bleach solutions, glass cleaner) unless the product explicitly states leather safety
Simple rule: If it makes your seats shiny or slippery, it?s usually not doing your leather any favors long-term.
Step-by-Step: A Reliable Budget Routine You Can Repeat
If you want one straightforward routine that works for most cars with coated leather, follow this:
Every 2?4 weeks (10?15 minutes)
- Quick vacuum of seat surfaces and seams
- Wipe with a small amount of conditioner/protectant on a microfiber towel
- Buff dry
Every 2?3 months (30?45 minutes)
- Vacuum thoroughly
- Clean with a dedicated leather cleaner using a soft brush
- Wipe residue fully
- Condition lightly and buff to matte
Seasonal focus (spring/summer)
- Prioritize UV protection and more frequent light conditioning if the car lives outside
- Use a windshield sunshade?cheap and very effective
Common Mistakes to Avoid (That Cost More in the Long Run)
- Skipping vacuuming: Dirt in stitching and creases accelerates wear. Always remove grit before wiping.
- Over-applying conditioner: Excess product becomes a dirt magnet and can feel greasy. Thin, even layers win.
- Spraying directly into perforations: Liquids can seep into foam and cause odors or spotting. Spray onto a towel instead.
- Using magic erasers aggressively: Melamine foam is abrasive and can dull or remove the topcoat.
- Chasing a glossy ?new car? look: Shine is usually oil and residue. Most OEM leather finishes are satin to matte.
- Conditioning dirty leather: You end up sealing grime and body oils in place. Clean first when in doubt.
Practical Tips for Better Results (Without Spending More)
- Warm the cabin slightly (not hot): products spread more evenly when the leather isn?t ice-cold.
- Use two towels: one for application, one for buffing. This prevents streaks and tackiness.
- Focus on high-wear zones: driver bolster, seat edge, steering wheel, armrests, headrests.
- Address dye transfer early: blue jean dye and dark clothing marks are easier to remove when fresh.
- Test in an inconspicuous spot: especially on light beige/white interiors.
FAQ: Budget Leather Conditioning
How often should I condition leather car seats?
For most coated leather interiors, light conditioning every 2?3 months is plenty, with a quick maintenance wipe in between if the car sees heavy use. If you park outside in strong sun or live in a hot, dry climate, conditioning every 6?8 weeks can help maintain a softer feel.
Can I use coconut oil, olive oil, or household oils on car leather?
It?s not recommended. Household oils can go rancid, attract dirt, and leave an uneven sheen. They may also soften or interfere with the factory topcoat over time. A water-based automotive leather conditioner is safer and usually inexpensive.
What if my seats are ?leatherette? or vinyl?
Use an interior protectant designed for vinyl/synthetics and keep it matte. Leather conditioners won?t absorb the same way and can leave residue. Many vehicles mix materials, so treat seat centers (leather) differently than side panels (synthetic) if needed.
Why do my leather seats look shiny even after conditioning?
Shine is usually body oils, product buildup, or grime?not healthy leather. Do a proper cleaning pass with a leather-safe cleaner and a soft brush, wipe residue thoroughly, then apply a very thin layer of conditioner and buff dry.
Is a leather ?cleaner and conditioner? combo good enough?
For maintenance, yes. For neglected or visibly dirty seats, a dedicated cleaner first works better. Many combo products don?t have enough cleaning power to remove embedded oils and dirt, so you may end up spreading grime around.
My leather is cracked?will conditioning fix it?
Conditioning can improve feel and slow further drying, but it won?t reverse cracking or restore missing color. For cracks, you?re looking at repair (filler), recoloring, or panel replacement. Still, conditioning the surrounding leather helps prevent the damage from expanding.
Next Steps: Keep It Simple and Consistent
The most budget-friendly leather conditioning strategy is the one you?ll actually repeat. Start with a basic kit: microfiber towels, a soft brush, a leather cleaner, and a matte conditioner/protectant. Do a quick maintenance wipe regularly, then a proper clean + condition every couple of months. Your seats will feel better, look more even, and resist wear on the bolsters where most interiors age first.
If you want to level up without spending much more, add a sunshade and get serious about vacuuming seams?those two habits alone can noticeably extend the life of your leather.
Thanks for reading?explore more interior care guides, cleaning routines, and product tips at carinteriormix.com.